 Save to Pinterest
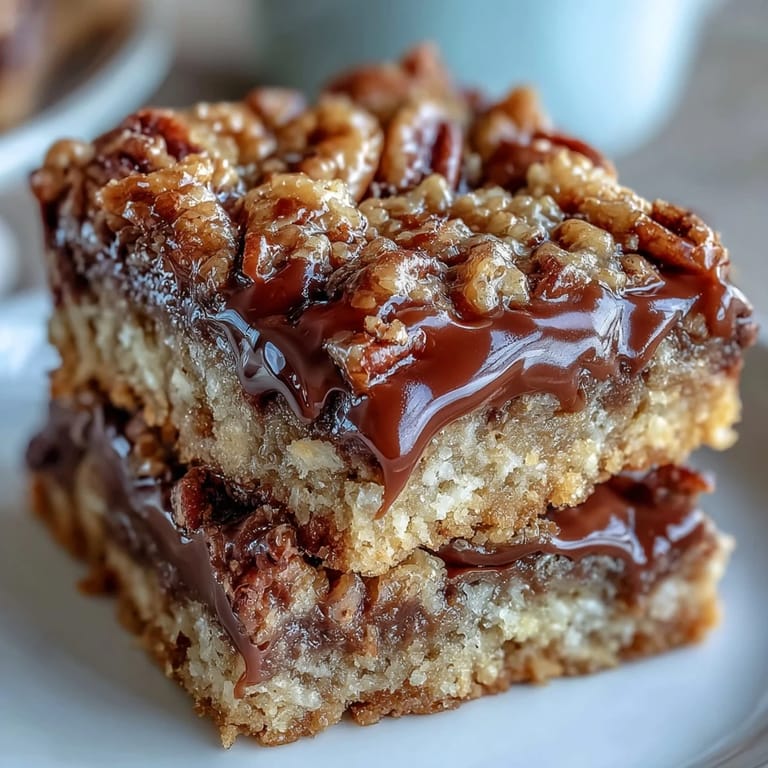
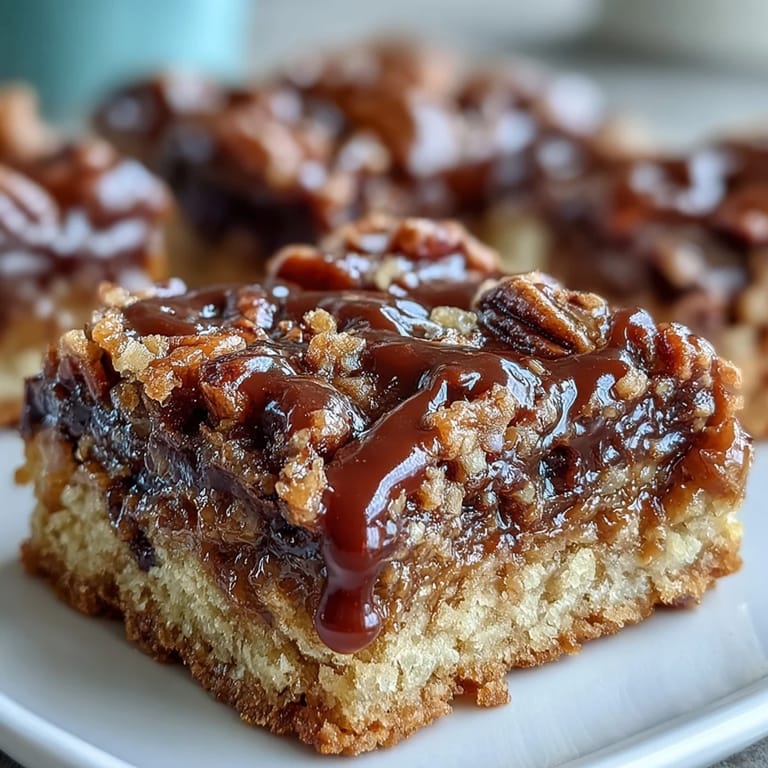
 My neighbor knocked on the door one Saturday morning holding an empty plate and asking if I had "those caramel things" left. I'd brought a pan of these turtle bars to a block party three days earlier, and apparently her kids hadn't stopped talking about them. That's when I knew this recipe was a keeper. The combination of gooey caramel, crunchy pecans, and soft chocolate creates a texture so satisfying it lingers in your memory long after the last crumb. I've made them at least a dozen times since, and they disappear faster every time.
I brought these bars to my coworker's goodbye party, and by the time I looked up from saying hello, the entire pan was gone. Someone had even scraped the caramel drips off the foil. A few people asked if I'd used some secret ingredient, but the truth is simpler: good caramel, real butter, and patience while they cool. Cutting them too early turns them into a beautiful, delicious disaster. I learned that the hard way after serving gooey chunks with a spoon at a family dinner.
Ingredients
- All-purpose flour: This builds the structure of your crust and crumb topping, giving it enough body to hold the gooey center without falling apart.
- Rolled oats: They add chew and a slightly nutty flavor that balances the sweetness, plus they toast beautifully on top.
- Brown sugar: The molasses in brown sugar deepens the caramel flavor and keeps the crust tender instead of dry.
- Granulated sugar: A touch of white sugar brings sweetness without adding moisture, which helps the crumb topping stay crisp.
- Unsalted butter, melted: Melted butter blends easily into the dry ingredients and gives you control over the salt level.
- Salt: Just a pinch wakes up all the flavors and keeps the sweetness from becoming cloying.
- Baking soda: A small amount helps the crumb topping puff slightly and turn golden as it bakes.
- Semi-sweet chocolate chips: They melt into puddles over the warm crust, creating pockets of rich chocolate that contrast with the caramel.
- Chopped pecans: Pecans bring a buttery crunch and earthy flavor that's classic in turtle candies.
- Caramel sauce: Whether you buy it or make it, this is the heart of the bars, so choose one that's thick and deeply flavored.
- Heavy cream: Thinning the caramel with cream makes it pourable and helps it seep into every layer.
Tired of Takeout? 🥡
Get 10 meals you can make faster than delivery arrives. Seriously.
One email. No spam. Unsubscribe anytime.
Instructions
- Prep your pan:
- Preheat your oven to 350°F and grease a 9x9-inch pan generously with butter, or line it with parchment so the bars lift out cleanly later. I like to leave parchment overhang on two sides to use as handles.
- Make the crumb mixture:
- In a large bowl, stir together the flour, oats, brown sugar, granulated sugar, melted butter, salt, and baking soda until the mixture looks like damp sand with some clumps. Set aside one cup of this mixture in a small bowl for the topping.
- Form the crust:
- Press the remaining crumb mixture firmly into the bottom of your prepared pan, using your fingers or the bottom of a measuring cup to make it even. Bake for 10 minutes until it just starts to turn golden at the edges.
- Warm the caramel:
- While the crust bakes, pour the caramel sauce and heavy cream into a small saucepan over medium-low heat. Stir constantly until the mixture is smooth and slightly runny, then remove it from the heat.
- Layer the filling:
- As soon as the crust comes out of the oven, scatter the chocolate chips evenly over the hot surface, then sprinkle the chopped pecans on top. Pour the warm caramel over everything, letting it drip into the gaps.
- Add the topping:
- Sprinkle the reserved crumb mixture over the caramel layer in an even blanket. Return the pan to the oven and bake for 15 to 20 minutes, until the topping turns a deep golden brown.
- Cool completely:
- Let the bars cool in the pan on a wire rack for at least 30 minutes, or until the caramel sets. Cut into 16 squares with a sharp knife, wiping the blade between cuts for clean edges.
 Save to Pinterest
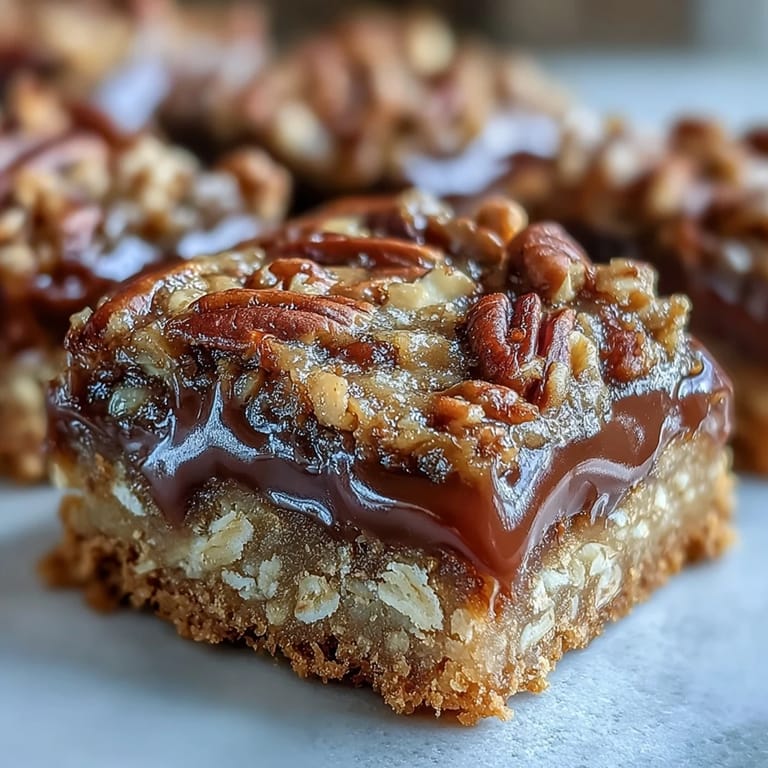
 My sister once ate three of these bars in one sitting and then asked if I could make a double batch for her book club. I did, and she texted me later that night to say two people had asked for the recipe before the meeting even started. These bars have a way of making people lean in closer, take a second look, and reach for another piece. They're the kind of dessert that starts conversations and ends with empty plates.
Storage and Shelf Life
These bars keep beautifully in an airtight container at room temperature for up to a week, though I've never seen them last that long. If you stack them, place a sheet of parchment between the layers so they don't stick together. You can also freeze them for up to three months. Just wrap each bar individually in plastic wrap, then tuck them all into a freezer bag. Thaw at room temperature for about an hour, and they taste just as chewy and rich as the day you baked them.
Variations and Swaps
If you're not a fan of pecans, walnuts or almonds work just as well and bring their own flavor. I once used toasted hazelnuts and it felt like eating a fancy European candy bar. For a fun twist, swap half the chocolate chips for white chocolate, or add a handful of toffee bits to the filling. If you want a salted caramel version, sprinkle flaky sea salt over the caramel layer before adding the crumb topping. The salt cuts through the sweetness and makes the caramel taste even more complex.
Serving Suggestions
These bars are rich, so I like to serve them with strong coffee or a glass of cold milk to balance the sweetness. They're perfect for potlucks, bake sales, or any gathering where you want to show up with something impressive that doesn't require a fancy presentation. If you're feeling extra, drizzle melted dark chocolate over the cooled bars in zigzag lines. It looks bakery-level professional and only takes two minutes.
- Serve them slightly warm with a scoop of vanilla ice cream for an over-the-top dessert.
- Pack them in a tin for a homemade gift that people will actually get excited about.
- Cut them into smaller squares for parties so guests can try one without committing to a full serving.
 Save to Pinterest
 Every time I pull these out of the oven, I remember that neighbor standing on my porch with her empty plate, and it makes me smile. Baking something that people remember days later is one of the best feelings in the kitchen.
Recipe Q&A
- → Can I use store-bought caramel sauce?
Yes, store-bought caramel sauce works perfectly in these squares. Warm it with heavy cream to achieve the right consistency for even spreading over the chocolate and pecans.
- → How should I store these bars?
Keep the bars in an airtight container at room temperature for up to one week. The layers maintain their texture well, and the flavors continue to develop over time.
- → Can I substitute the pecans?
Walnuts or almonds make excellent substitutes for pecans. Chop them similarly to maintain even distribution throughout the caramel layer.
- → Why do I need to cool them completely before cutting?
Allowing the squares to cool completely in the pan lets the caramel set properly. Cutting while warm causes the filling to ooze out, resulting in messy edges and less defined layers.
- → Can I make these ahead of time?
These bars actually improve after a day or two as the flavors meld. Prepare them up to two days before serving, stored in an airtight container at room temperature.
- → What type of chocolate works best?
Semi-sweet chocolate chips provide balanced sweetness that complements the caramel. For deeper intensity, try dark chocolate chips or chopped bittersweet baking chocolate.