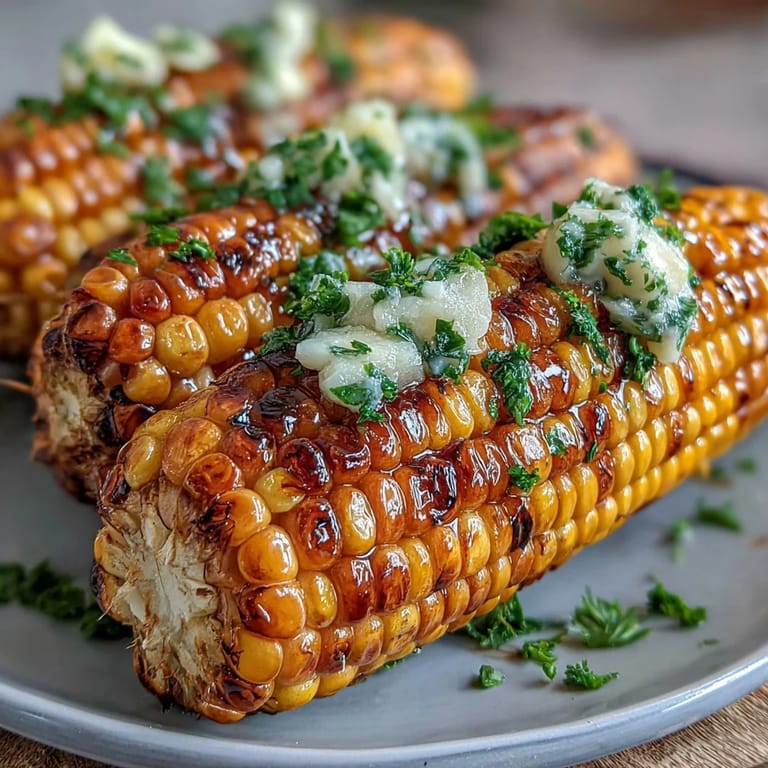
 Save to Pinterest
 There's something almost magical about how a microwave can transform four humble ears of corn into something that tastes like you've been tending them all afternoon. I discovered this method on a sweltering July evening when my oven felt like the enemy, and I needed dinner on the table before anyone melted into the kitchen tiles. The garlic butter—that's where the real trick lives, turning what could be ordinary into something people actually ask you to make again.
I'll never forget my neighbor peering over the fence while I was shucking corn on the patio, skeptical that a microwave could possibly do it justice. Thirty minutes later, she was back at my door asking for the method—not the recipe, just how I'd managed to get that perfect tender-but-not-mushy texture. Turned out she'd been boiling corn for decades and never looked back after that first bite.
Ingredients
- Fresh corn, husked (4 ears): The fresher your corn, the sweeter it'll be, but honestly even corn that's been in your fridge for a couple of days will taste amazing with this treatment.
- Unsalted butter (4 tablespoons): Unsalted gives you control over the seasoning, and it lets the garlic and corn flavors shine without competing with salt.
- Garlic, finely minced (2 cloves): Don't skip the mincing step—tiny pieces distribute evenly and cook through in seconds, while chunks can turn bitter.
- Fresh parsley, chopped (1 tablespoon, optional): This adds a fresh brightness that keeps the dish from feeling heavy, even though it's optional, I'd say go for it.
- Salt (1/2 teaspoon) and freshly ground black pepper (1/4 teaspoon): Freshly ground pepper makes a noticeable difference here, so resist the pre-ground stuff if you can.
- Lemon wedges (optional): A squeeze of lemon at the end brightens everything and cuts through the richness in a way that feels almost like a secret weapon.
Tired of Takeout? 🥡
Get 10 meals you can make faster than delivery arrives. Seriously.
One email. No spam. Unsubscribe anytime.
Instructions
- Prep your corn for the microwave:
- Arrange your four husked ears on a microwave-safe plate and drape a damp paper towel over them—this keeps the kernels from drying out during cooking.
- Microwave until just tender:
- Cook on high for 4 to 6 minutes, giving the corn a half-turn about halfway through so it cooks evenly. You'll know it's ready when a kernel gives slightly under your fingernail and the ear releases a little steam when you lift the paper towel.
- Make your garlic butter magic:
- While the corn's resting, combine your butter and minced garlic in a microwave-safe bowl and heat for about 30 seconds—just long enough for the butter to melt and the garlic to wake up and get fragrant. Stir in the salt, pepper, and parsley if you're using it.
- Brush and serve:
- Carefully handle the hot corn (it's genuinely hot), and use a pastry brush to coat each ear generously with that golden garlic butter. Serve right away while everything's still warm, with extra butter and lemon wedges on the side if anyone wants them.
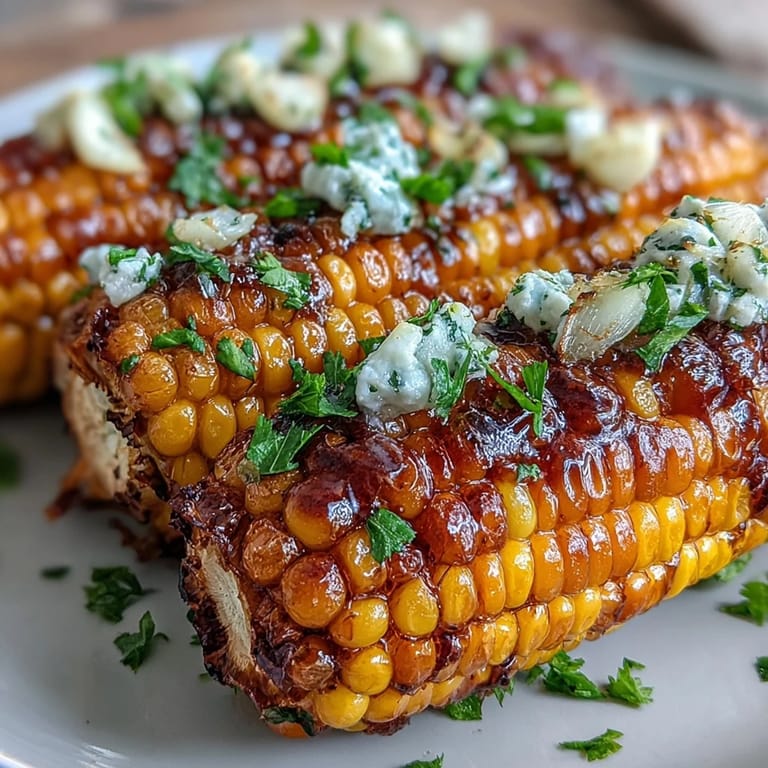 Save to Pinterest
 My son once declared this corn better than the expensive grilled version we'd gotten at a farmer's market, and I realized in that moment that sometimes the best meals aren't about effort or pretension—they're just about treating simple things with a little care. That's what this recipe taught me.
Why Microwave Corn Actually Works
The microwave gets blamed for a lot of culinary crimes, but when it comes to corn, it's actually one of the best tools in your kitchen. The steam trapped under that damp paper towel cooks the kernels gently and evenly, which means you get that perfect bite where it's sweet and tender without being mushy or tough. It also means you're not heating your entire kitchen in summer, which honestly feels like a gift some days.
Flavor Variations That Actually Work
Once you've mastered the basic version, you can have a lot of fun playing around with what goes into that garlic butter. I've added everything from a tiny pinch of smoked paprika for a hint of depth, to fresh lime zest and cilantro when I'm craving something with a different energy. The core technique stays exactly the same; you're just swapping out the supporting players.
Storage and Make-Ahead Tips
If you're cooking for a crowd, you can actually microwave all your corn at once (just stack it carefully and give it an extra minute or two), then brush each ear with garlic butter right before serving. The leftover garlic butter keeps in the fridge for a solid week, which means you can slather it on warm bread, roasted vegetables, or even steaks without any extra thought.
- Make the garlic butter ahead and store it in a small jar so you can reheat it for 15 seconds before brushing when you're ready to serve.
- Corn tastes best eaten the same day, but if you have leftovers, strip the kernels off and toss them into salads or grain bowls the next day.
- If you're cooking for a big group, you can microwave the corn in batches and keep it warm loosely covered with foil while you finish up the rest.
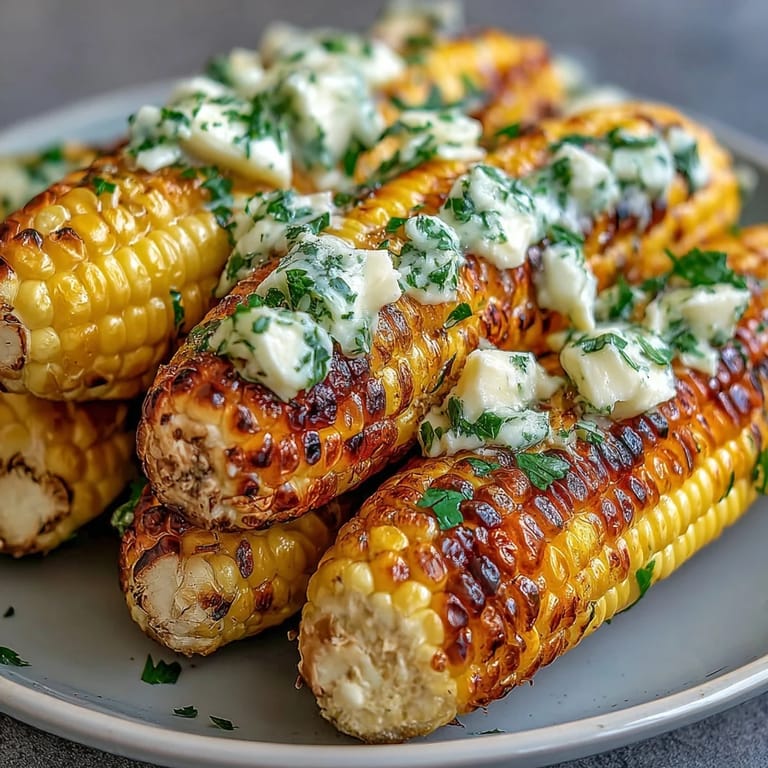 Save to Pinterest
 There's a reason this simple recipe has become a summer staple in my kitchen—it proves that the best food doesn't require complicated techniques or rare ingredients, just thoughtfulness and a little garlic butter. Make it once and you'll understand why.
Recipe Q&A
- → How do I cook corn evenly in the microwave?
Turn the corn halfway through cooking to ensure even heat distribution and tender kernels all around.
- → Can I add herbs to the garlic butter?
Yes, fresh parsley or other herbs can be stirred into the garlic butter to complement the flavors.
- → What is the best way to apply the garlic butter?
Use a pastry brush to generously coat the warm corn for maximum flavor coverage.
- → How can I keep the corn juicy during microwaving?
Cover the corn with a damp paper towel or wrap it in wax paper before microwaving to trap moisture.
- → Are there suggestions for enhancing the flavor?
Try adding grated Parmesan or smoked paprika for an extra savory twist.